How to Setup Windows Hello Fingerprint Option in Windows 11

To use the fingerprint scanner in Windows 11, you can have to set it up first. Follow these steps to set up or add Fingerprint in Windows 11.
Like Windows 11, Windows 11 too supports Windows Hello. This means you can add multiple authentication systems to sign into your computer. Most modern laptops like Lenovo K14, Lenovo Yoga, Dell, HP, etc.., all support fingerprint authentication in some models.
If your laptop has a fingerprint scanner, you can set up Windows Hello Fingerprint
Recognition to sign into Windows 11 That way, you don’t have to enter the
account password or PIN each time you want to sign in. Moreover, the sign-in
process will be much faster. You can also fingerprint lock your computer and
other supported applications.
If you are not setup fingerprint option to Windows 11, you can do it quickly via the Sign-in Options page. All it takes is a little bit, and you are good to go. After setting up the fingerprint, you can scan the finger to sign into your user account, applications, and other settings.
Set up fingerprint in Windows 11
You can add a
fingerprint in Windows 10 from the Accounts > Sign-in Options page. You need
to follow the add fingerprint wizard, and it will be good. Here’s how to do it.
1. Open Settings.
2. Select “Accounts” on the sidebar.
3. Click on “Sign-in options.”
4. Click on “Fingerprint recognition (Windows
Hello).”
5. Press the “Set up” button.
6. Click “Get Started.”
7. Type the account PIN and click “Next.”
8. Touch the fingerprint scanner with your finger
a few times.
9. Click “Next” when prompted.
10. Touch the fingerprint scanner again a few more
times with the same finger.
11. Once done, you will see the “All set” message.
12. With that, you’ve set fingerprint in Windows
11.
Detailed steps:
First, press the
“Windows key + I” to open the Windows 11 Settings app. You can also search for
the same in the Start menu. After opening the Settings app, go to the “Accounts
> Sign-in Options” page.
Here, click on “Fingerprint Recognition
(Windows Hello)” and then click the “Set up” button.
Now, click the “Get started” button to continue.please see the below pic properly.

click on “Fingerprint Recognition (Windows Hello)” and then click the “Add finger or Setup ” button.

Now, click the “Get started” button to continue.

Note :- if you already add your fingerprint then need to put your system pin for add other fingerprints. If if you add first time put then put the New pin and again confirm same pin.

Now, Windows 11 prompts you to register your finger. Touch the fingerprint scanner with the finger of your choice a few times.

After touch the fingerprint scanner showed option Now try another angel.

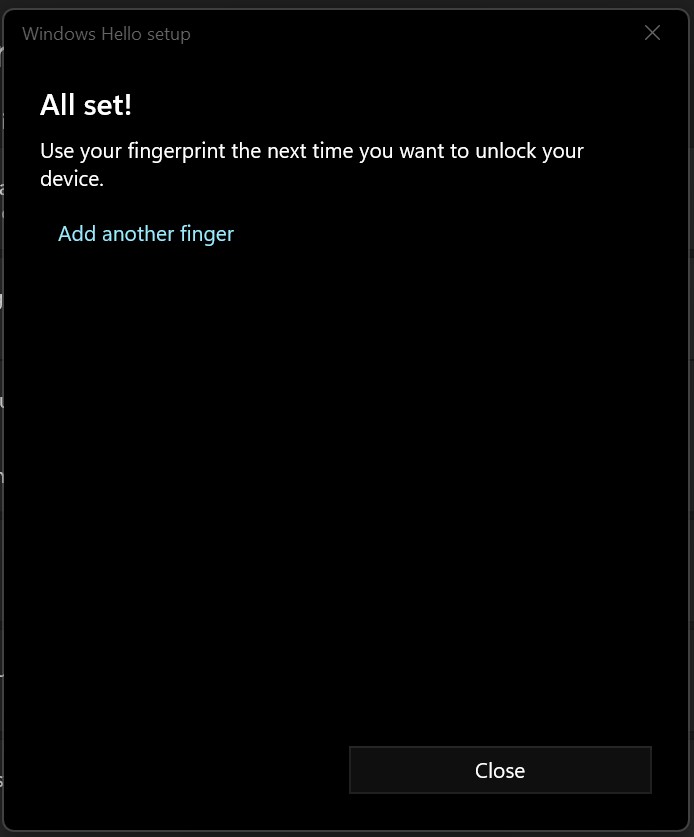
Now All Set. go head and get restart your system and check.
"Thanks For Visit My Page"